
How to remove the background of a picture in photoshop
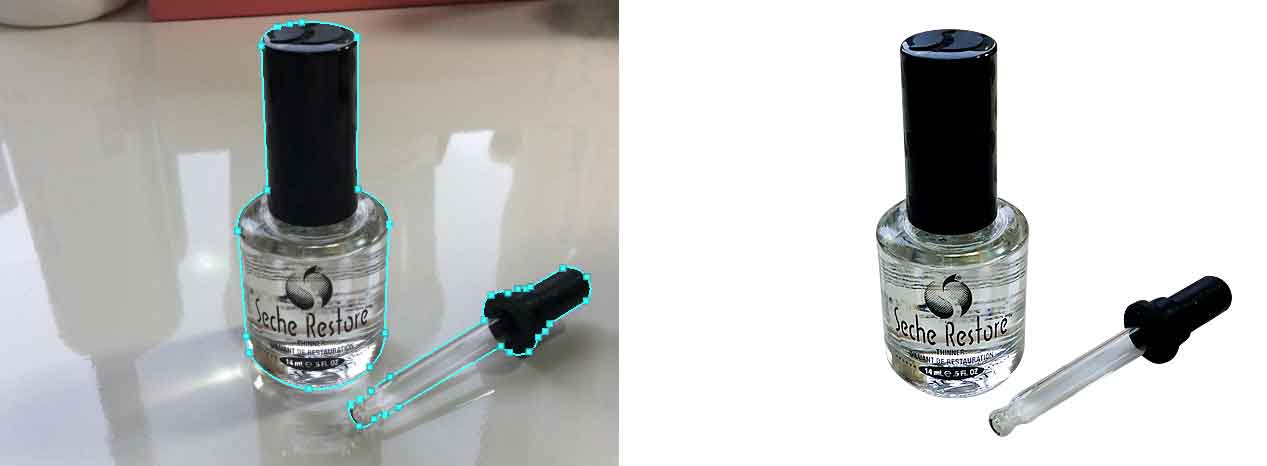
Photoshop is one of the most impressive digital tools. Using this tool, anyone can make some important changes in the photos. When you are using Photoshop, you may need to bring lots of changes. But the background removal is the most applicable one. A large number of people apply this particular Photoshop service to remove the photo background. The processes are not the same for all the cases.
When the photo is simple, the process is shorter. But if the photo background is complex, it takes time and efforts for the photo editors to remove the background. However, considering for the beginners, we are explaining the simple process in this article. It would be effective for those who want to learn how to remove the background of a picture in Photoshop. Let’s begin the journey.
Step 1
In this very first step, you need to select a picture. But before the selection, make sure the image is simple. You need to open the photoshop on your computer. When the tool is ready for use, open an image on the photoshop. However, in this simple stage, you need to get a solid color of your image. If the color is multiple, it would be tough for you to remove the background. Bear in mind that you are the beginner, not an expert. Hence, the image should be as much simple as you can keep it.
Step 2
The second step is here. You need to get into the Layers window on your photoshop screen. You need to create a new layer using this window. If the photo is not edited, you will get a Background in the window. Now, this is time to select ‘Layer from Background’. It will open a new layer Window. Notice the change in the Background. It will turn into ‘0’ now. The new layer will unlock the image and you can edit that. When there is no layer or the image in its former layer, you cannot edit the images.
Step 3
The Magic Eraser Tool is the key player in this section. You can get this tool on the Eraser menu. Getting access to the tool is easier. Simply click the Eraser tool icon. From the selection menu, you have to select the Magic Eraser Tool. Don’t worry if you get some adjustment setting. They are there to help you adjust the eraser to complete your job. You need to adjust the tolerance limit. The tolerance limit helps to prevent the original parts of the photos.
Step 4
This is the final step. Here you need to start over removing the background. The Magic Eraser will remove the color of the photo parts. The parts where you will apply the eraser will get a transparent shade. In fact, the background will be transparent. Do not worry when you get a solid color background. Rather, the magic erases tool will perform much better in this background. Applying the zoom will help you to avoid mistakes. At the same time, you will not need to do any adjustments as well if you zoom during the removal job.
Step 5
Select the object now. Place the object into a new layer. You can use a shortcut key by pressing ‘Ctrl+Shift+J’. It will create a New Layer Via Cut. The feature of the layer is that it will separate the object from its old position. You will get a new position
